
A Dutch oven table DIY is a versatile and handy tool for outdoor cooking. It can be easily built using basic woodworking skills and materials.
With a Dutch oven table, you can enjoy the convenience of having a stable surface to cook on, whether you are camping, barbecuing, or simply enjoying the outdoors. This article will provide you with step-by-step instructions on how to build your own Dutch oven table, along with some useful tips and tricks to ensure a successful project.
So, let’s get started and create a practical and functional Dutch oven table that will enhance your outdoor cooking experience.
Benefits Of A Homemade Table
A homemade Dutch Oven Table offers a multitude of benefits for outdoor cooking enthusiasts. One of the greatest advantages is its versatility. By customizing the size and design of the table, it can cater to individual needs. Whether you want a compact table for camping trips or a larger one for backyard cookouts, the possibilities are endless.
Building your own table allows you to create a cooking surface that perfectly suits your requirements. You can determine the dimensions and choose the materials that best fit your specific needs. This level of customization ensures optimal functionality and usability.
There is a sense of pride and accomplishment that comes with constructing your own Dutch Oven Table. Building it from scratch allows you to showcase your creativity and craftsmanship. This unique satisfaction cannot be replicated by simply purchasing a table.
Materials And Tools
Dutch Oven Table Diy is a great project that can add functionality and style to your outdoor cooking area. When it comes to selecting durable materials, it is important to choose ones that can withstand the heat and weight of the Dutch oven. Some good options include pressure-treated lumber, cedar, or metal. These materials will ensure that your table is sturdy and long-lasting.
In addition to the materials, you will also need a few necessary tools for assembly. These tools may include a circular saw, drill, screwdriver, tape measure, and a level. Having these tools on hand will make the construction process much easier.
Planning The Design
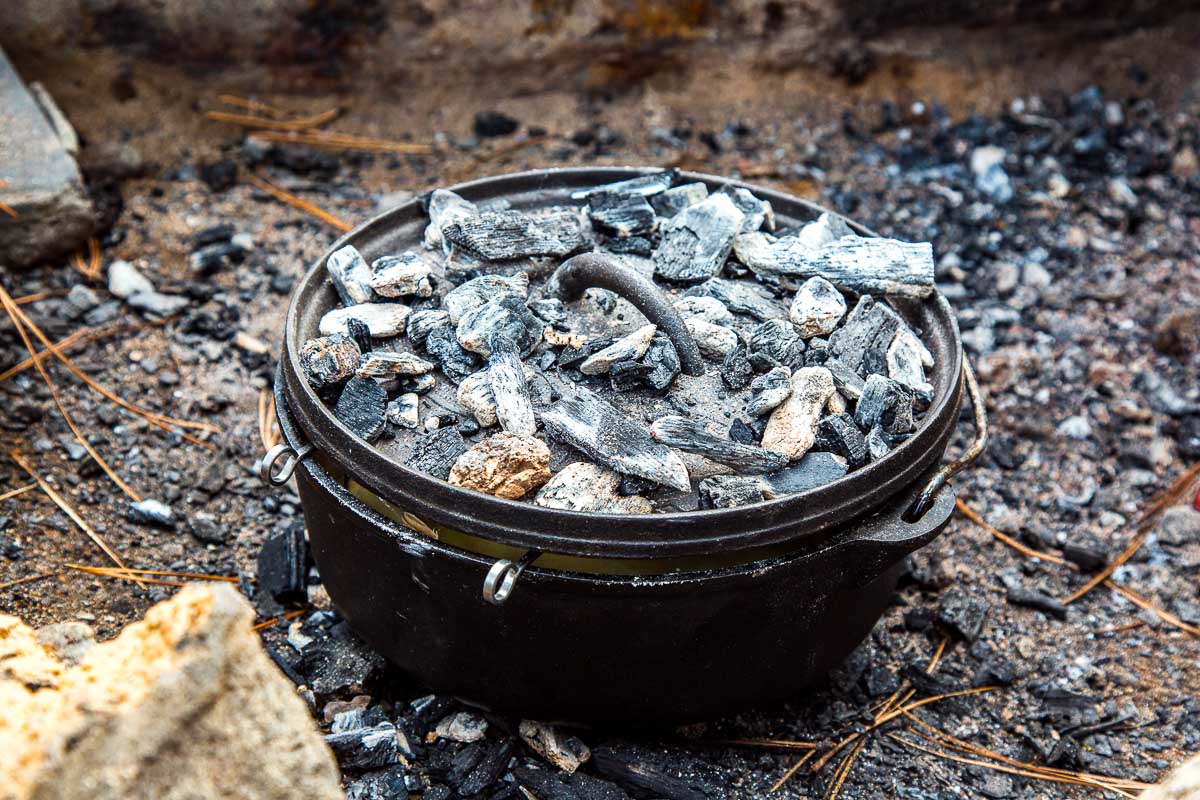
When designing a DIY Dutch Oven Table, it is important to consider the dimensions and portability of the table. The table should have enough space to comfortably accommodate the Dutch oven and any additional cooking utensils. It should also be sturdy enough to support the weight of the Dutch oven and be able to withstand the heat produced during cooking.
When choosing materials for the table, it is important to select ones that are heat resistant and durable. This will ensure that the table can withstand the high temperatures generated by the Dutch oven and the wear and tear of outdoor use. Materials such as steel or cast iron are popular choices due to their heat resistance and durability.
In order to protect the flame from wind gusts, it is recommended to incorporate wind shields into the design of the Dutch oven table. These can be made from materials such as metal or glass and should be positioned strategically to shield the flame while still allowing for proper ventilation.
Construction Steps
Cutting and preparing materials:
The first step in constructing a Dutch Oven table is to cut and prepare the necessary materials. Ensure you have all the required wood, tools, and safety equipment before you begin. Measure and mark the wood according to your desired dimensions, making sure to account for the height, width, and length of the table. Use a saw to cut the wood pieces accordingly, ensuring clean and precise cuts. Sand down any rough edges or surfaces to create a smooth finish that is safe to handle.
Assembling table components:
Once you have prepared the materials, it’s time to assemble the table components. Start by connecting the legs to the tabletop, ensuring they are evenly spaced and securely fastened. You can use screws or nails to secure the pieces together. Next, attach any additional support beams or braces to enhance the stability and strength of the table. Double-check all connections to ensure they are secure and sturdy before proceeding to the next step.
Safe installation of heat sources:
When the table is fully assembled, it’s important to consider the safe installation of heat sources. If using a Dutch Oven or other heat-emitting cookware, make sure to place it on a heat-resistant surface or use appropriate heat shields to protect the wooden table from damage. Take precautions to avoid any fire hazards and always follow the manufacturer’s guidelines for safe usage. Additionally, keep flammable materials away from the heat source and never leave it unattended while in use.
Accessories And Modifications
When enhancing your Dutch oven table, adding hooks and holders for utensils is a practical and space-saving solution. These attachments keep your cooking tools within easy reach, allowing for a seamless and efficient cooking experience. Moreover, installing foldable extensions can provide you with additional space for prep work or serving. These extensions can be easily collapsed when not in use, optimizing space utilization. Additionally, it is crucial to choose the right finish for weather resistance. Opting for a weather-resistant finish ensures that your Dutch oven table remains durable and long-lasting even when exposed to harsh weather conditions. Consider finishes such as powder coating or galvanizing to protect against rust and corrosion. With these accessories and modifications, your Dutch oven table can be transformed into a versatile and practical outdoor cooking companion.

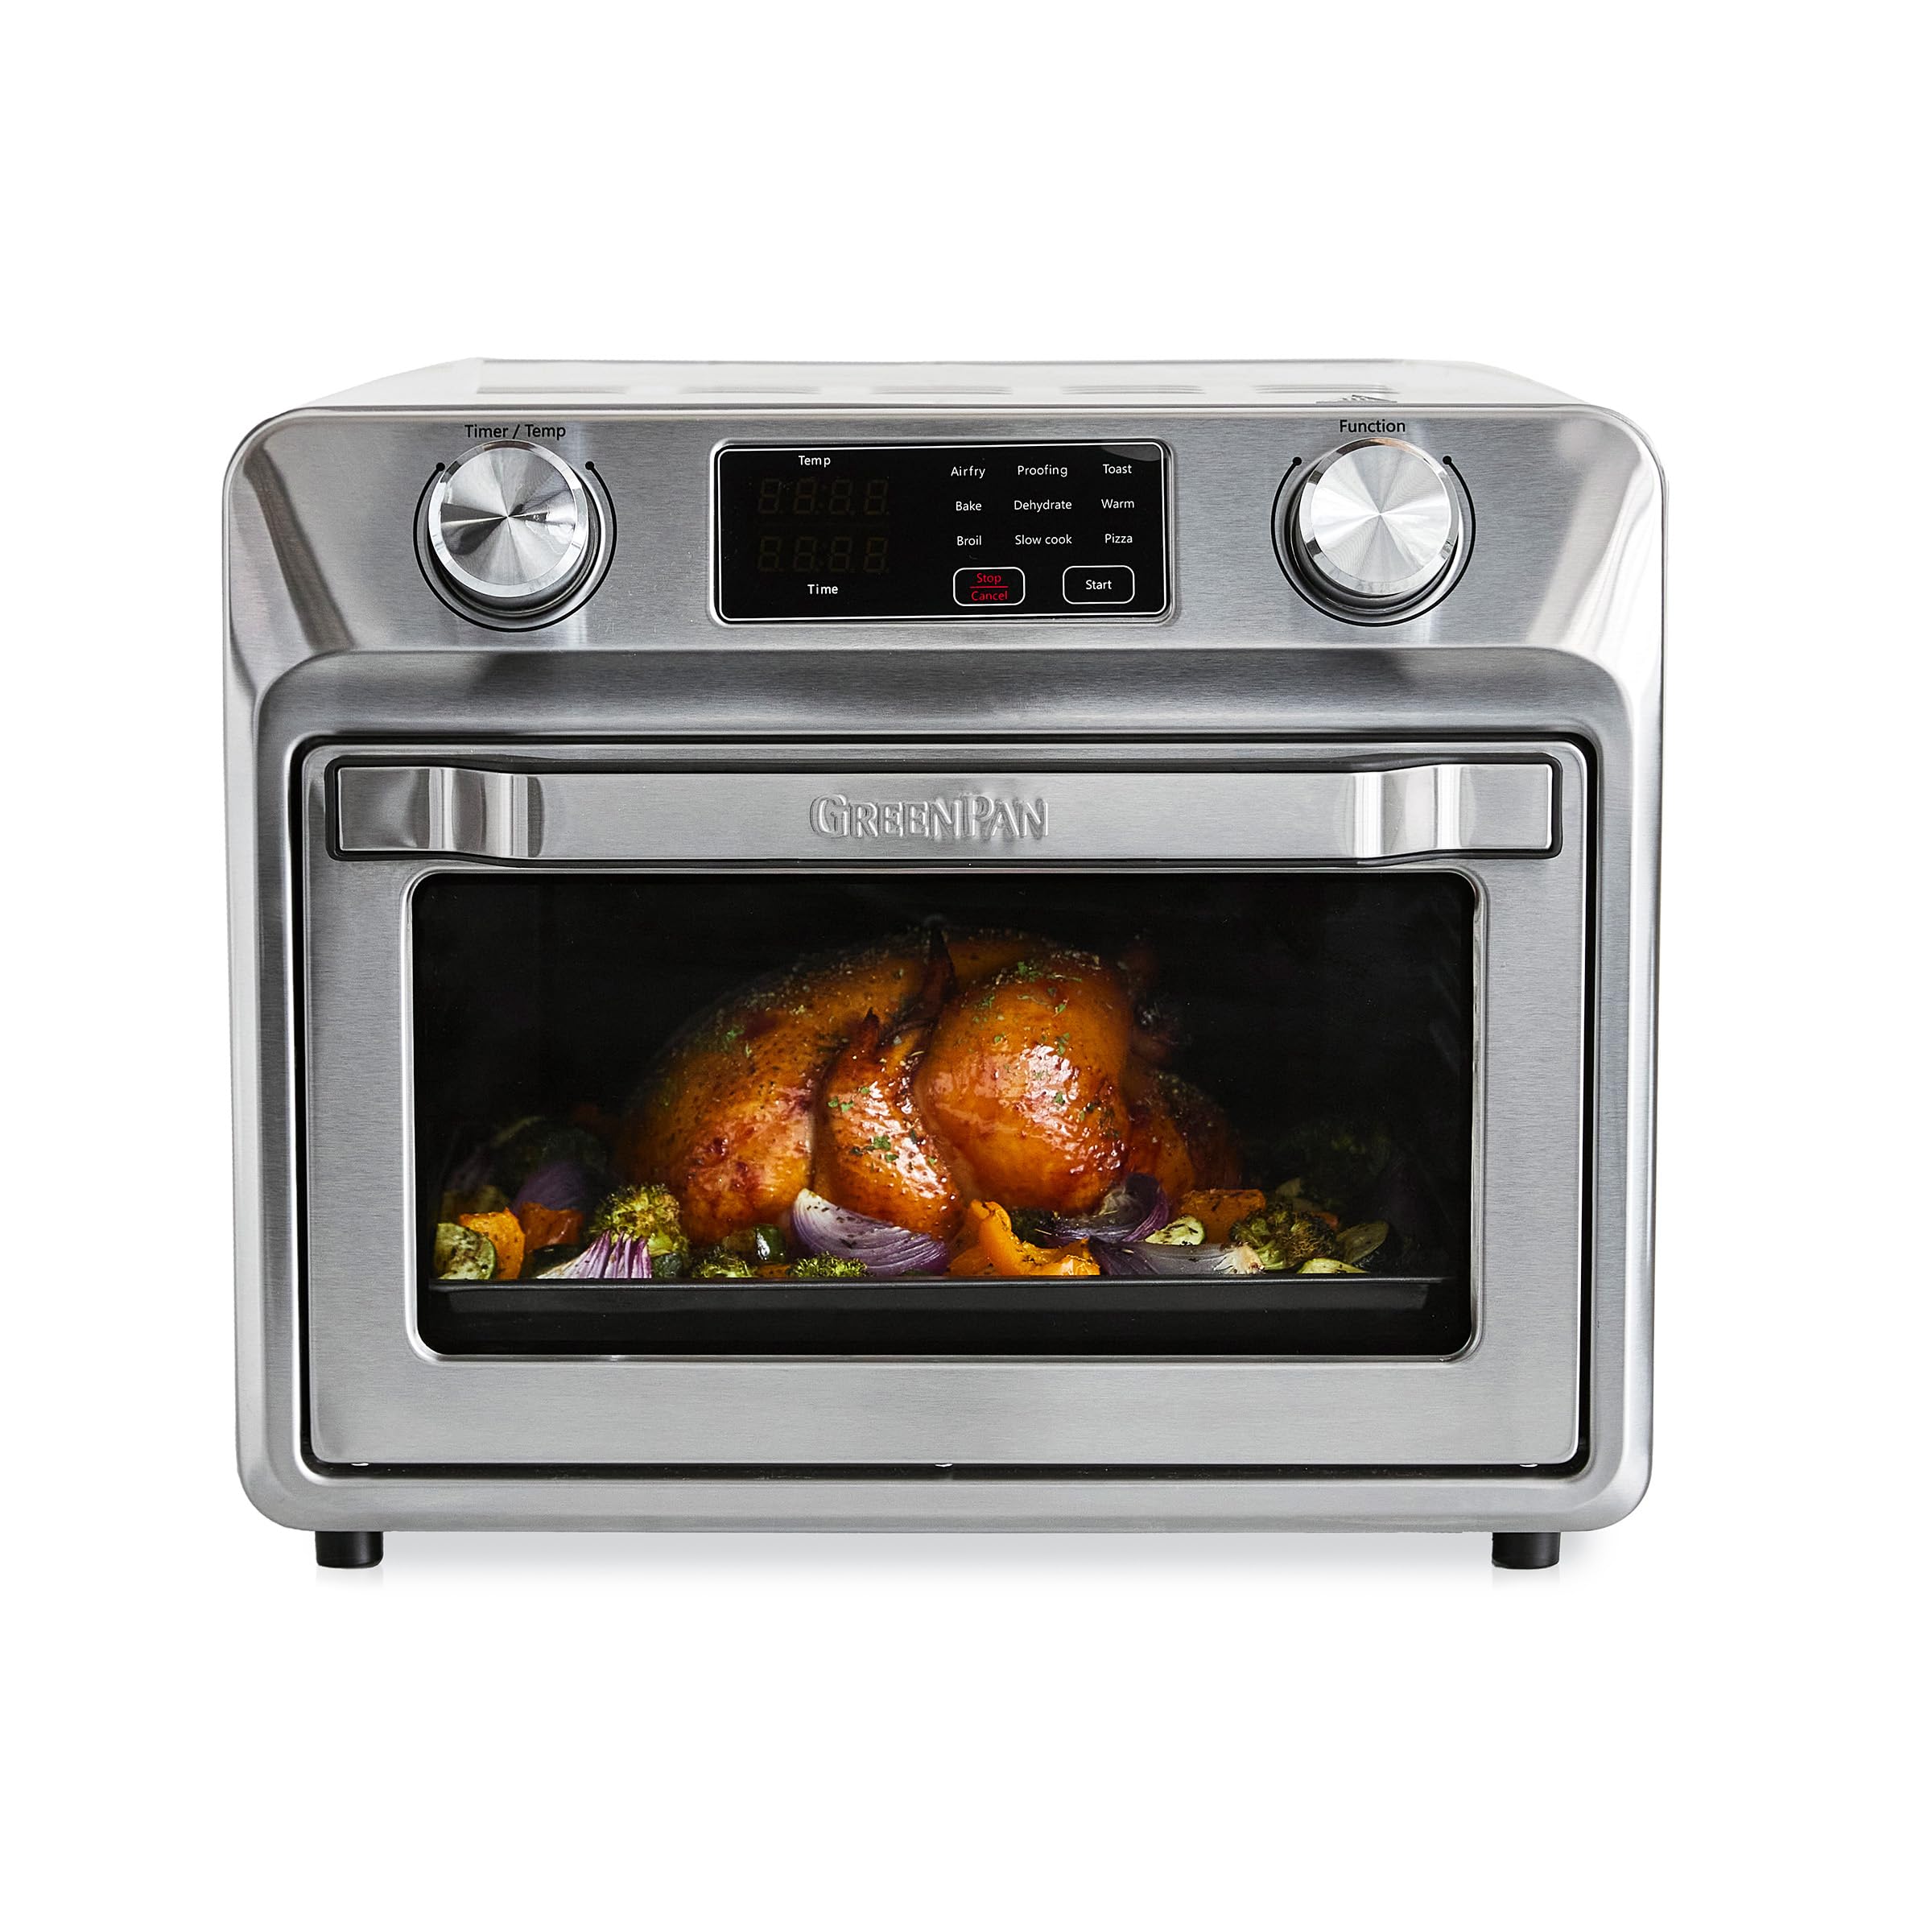
Credit: www.amazon.com
Maintenance Tips
Regular cleaning is essential for the longevity of your Dutch Oven table. To keep it in pristine condition, make sure to clean it after every use. Use a mild soap and water solution to remove any dirt or food residue. Avoid using harsh chemicals or abrasive scrubbers as they can damage the table’s surface.
When storing your Dutch Oven table during the offseason, protect it from extreme weather conditions. Store it in a dry and covered area to prevent rusting or warping. If possible, apply a coat of protective oil or varnish to further shield it from moisture and UV rays.
If you notice any minor damages or wear and tear on your Dutch Oven table, there are simple repair solutions available. For scratches or small dents, use a touch-up paint or stain to conceal the imperfections. If the damage is more significant, consult a professional for refinishing or restoration.
Creating The Perfect Cooking Ambiance
Create the perfect cooking ambiance with a DIY Dutch oven table that adds charm and functionality to your outdoor space. This customizable project brings convenience to your outdoor cooking experience, allowing you to enjoy delicious meals with friends and family.
Creating the Perfect Cooking Ambiance Lighting and decor for outdoor dining can greatly enhance the overall experience of using a Dutch oven table. Adequate lighting is essential for ensuring that the cooking area is well-illuminated, allowing you to see your ingredients and monitor cooking progress. String lights or lanterns strategically placed around the table can provide a warm and cozy glow, creating a relaxing atmosphere. In addition to lighting, comfortable seating arrangements around the oven table can make a significant difference in the enjoyment of your outdoor dining experience. Consider investing in comfortable chairs or cushions to provide optimal comfort for you and your guests. To further enhance the outdoor experience, incorporating music and entertainment options can create a lively and enjoyable ambiance. Set up portable speakers or a small sound system to play your favorite tunes, providing a soundtrack for your cooking adventures. Additionally, consider adding a television or projector for outdoor movie nights or sports viewing. By carefully considering lighting, seating, and entertainment options, you can create the perfect cooking ambiance for your Dutch oven table and elevate your outdoor dining experience to new heights.| Lighting and Decor for Outdoor Dining | |
| Lighting |
|
| Comfortable Seating Arrangements |
|
| Music and Entertainment Options |
|
Frequently Asked Questions On Dutch Oven Table Diy
How Do You Make A Dutch Oven Table?
To make a Dutch oven table, you will need a sturdy base, plywood, and some basic tools. Start by measuring and cutting the plywood to the desired size, then attach it to the base using screws. Make sure the table is level and stable.
Finally, coat the table with a waterproof sealant for durability.
What Is The Purpose Of A Dutch Oven Table?
A Dutch oven table is designed to provide a stable and convenient cooking surface for Dutch oven cooking. It allows you to control the heat and temperature of the food by raising the Dutch oven off the ground. Additionally, it provides a comfortable height for cooking and serving meals.
Can I Use A Dutch Oven Table For Other Cooking Methods?
Yes, you can use a Dutch oven table for various cooking methods. It can be used for grilling, frying, and even as a regular table for outdoor dining. The sturdy construction and elevated surface make it versatile for different cooking needs.
Just make sure to adjust the heat and cooking times accordingly.
Conclusion
Creating your own DIY Dutch Oven Table is a practical and rewarding project. It offers a convenient and efficient way to cook outdoors while ensuring the longevity of your Dutch oven. By following the step-by-step guide provided in this blog post, you can easily construct a sturdy and functional table that will enhance your outdoor cooking experience.
Don’t hesitate to get started on this DIY project and reap the benefits it will bring to your outdoor adventures.


Leave a Reply