
Are you looking to build a DIY Dutch oven table? Follow these concise steps for an easy and efficient construction process.
A Dutch oven table is an essential tool for outdoor cooking enthusiasts. It provides a stable and elevated surface for cooking with Dutch ovens, making handling and managing heat easier. While you can purchase pre-made tables, building your own DIY Dutch oven table can be rewarding and cost-effective.
This guide will outline the step-by-step process of constructing a DIY Dutch oven table using simple materials and tools. Following these instructions, you can create a sturdy and functional table to enhance your outdoor cooking experience. Let’s get started!
Crafting A Diy Dutch Oven Table
Unveiling the utility of the outdoor cooking tool:
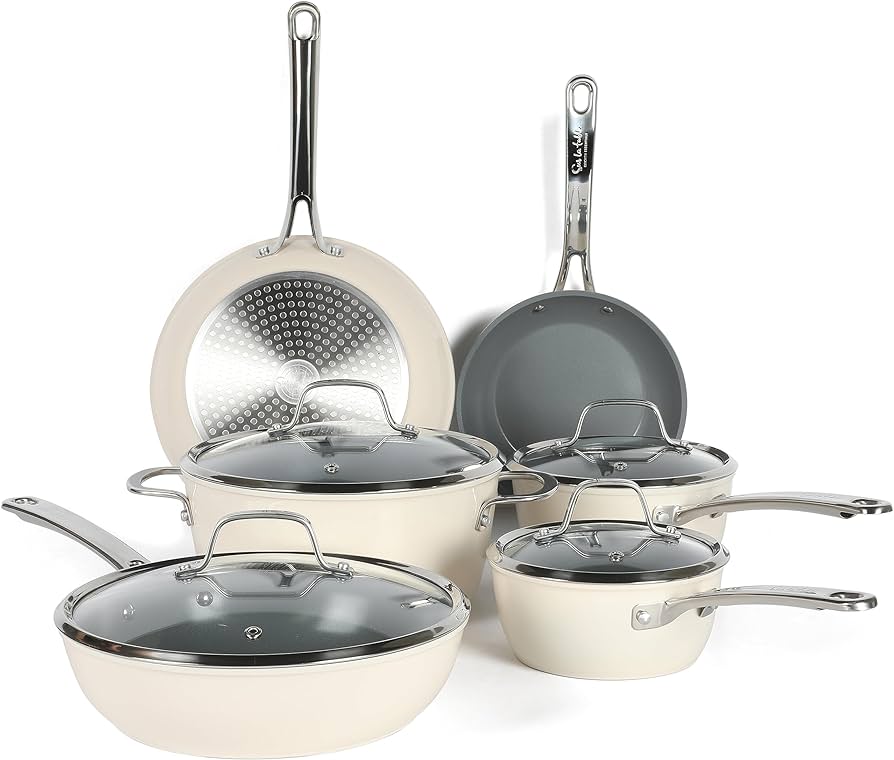
The Dutch oven is a versatile outdoor cooking tool that can be used for various cooking methods, such as roasting, baking, braising, and even frying. Its thick walls and tight-fitting lid help to distribute heat evenly, making it perfect for outdoor cooking.
One of the main advantages of a Dutch oven is its ability to retain heat and keep food warm for an extended period. This makes it ideal for camping trips or outdoor gatherings, where people can enjoy hot, delicious meals even after several hours of cooking. Additionally, Dutch ovens are suitable for stovetop and oven use, allowing for a wide range of cooking possibilities.
The essence of DIY in enhancing culinary creativity:
By crafting a DIY Dutch oven table, you can elevate your outdoor cooking experience while adding a touch of personalization. A custom-made table provides a stable and convenient surface for cooking, ensuring safety and ease of use. Whether you build a simple wooden table or get creative with different materials, the DIY approach allows you to tailor the design to your specific needs and preferences.
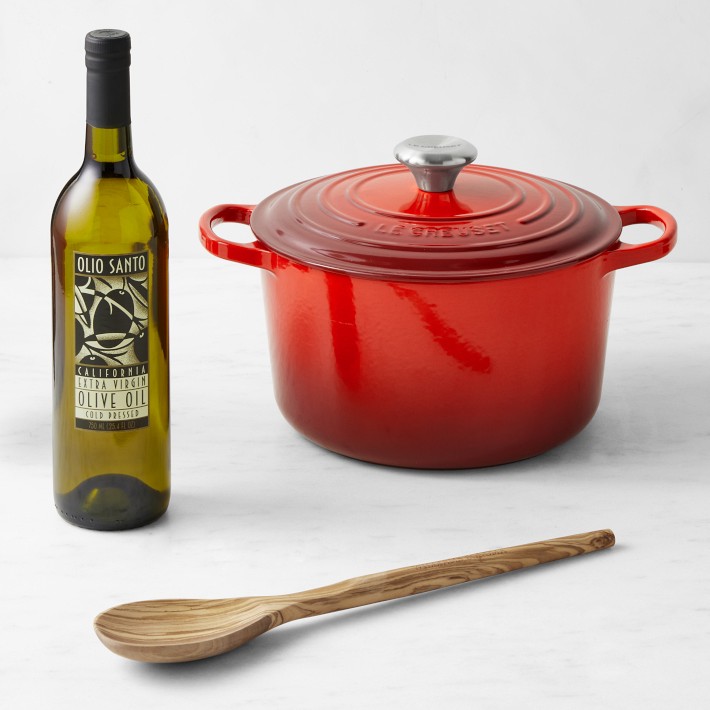
Credit: www.williams-sonoma.com
Essential Materials And Tools Needed
- Wood: Choosing a high-quality, durable wood is crucial for building a DIY Dutch oven table that will last. Look for hardwoods such as oak or cedar, known for their strength and resistance to decay.
- Metal: Metal components, such as brackets and screws, are essential for providing stability and reinforcement to the table. Opt for stainless steel or galvanized metal to prevent rusting and ensure longevity.
- Hardware: Gathering the necessary hardware, such as hinges and handles, is essential for assembling the Dutch oven table. Make sure to select sturdy and appropriate-sized hardware for reliable functionality.
- Saw: A high-quality saw is essential for cutting the wood to the desired measurements and ensuring precise and clean edges. Consider using a circular saw or a miter saw for efficient cutting.
- Drill: A reliable exercise will be necessary to create holes in the wood and securely attach metal components. Look for training with variable speeds and a clutch for controlled drilling.
- Screws: Invest in high-quality screws that are suitable for outdoor use and can withstand the weight and stress of the Dutch oven table. Stainless steel or coated screws are ideal for durability.
When sourcing materials for your DIY Dutch oven table, prioritize longevity and safety. Choosing the suitable wood and metal helps ensure that your table withstands various weather conditions and remains sturdy.
It is recommended to purchase materials from reputable suppliers or local hardware stores to ensure their quality and authenticity. Opting for stainless steel or galvanized metal hardware will also prevent corrosion and maintain the table’s structural integrity in the long run.
Designing Your Dutch Oven Table
The design of your DIY Dutch Oven Table should be tailored to your specific cooking needs. Consider the dimensions allowing you to comfortably use your Dutch oven while ensuring the table is a practical size for your space.
When designing the table, it’s essential to incorporate heat-resistant surfaces. This will protect the table from damage caused by the intense heat of the Dutch oven. Consider using materials such as stainless steel, ceramic tiles, or stone, which can withstand high temperatures.
Furthermore, stability is critical when constructing your Dutch oven table. It’s essential to build a sturdy base that can support the weight of the oven and the food you’re cooking. Consider using thick and durable materials for the legs and supports.
By paying attention to these aspects, you can create a functional and practical DIY Dutch Oven Table to enhance your cooking experience.
Step-by-step Construction Guide
Clear your workspace and organize all the necessary materials to start constructing your DIY Dutch Oven Table. This will ensure that you have everything you need and can work efficiently.
Next, you’ll want to cut and assemble the table frame. Measure and cut the pieces according to your desired dimensions, ensuring they fit together securely. Use sturdy wood and secure the joints with screws or nails. Don’t forget to double-check your measurements before cutting to avoid any mistakes.
Once the frame is complete, it’s time to attach and secure the tabletop. Choose a durable material such as plywood or solid wood for the tabletop. Cut it to fit the frame and attach it using screws or nails. Ensure that the tabletop is level and securely fastened to the edge.
With these steps completed, your DIY Dutch Oven Table is ready. Enjoy cooking delicious meals outdoors while using this practical and functional table!
Customizing Your Table For Maximum Efficiency
When customizing your Diy Dutch Oven Table for maximum efficiency, there are a few critical factors to consider. Integrating storage solutions for utensils and supplies is essential to keep everything organized and within reach. Adding wheels to your table provides portability and convenience, allowing you to move it around as needed quickly.
Selecting suitable finishes is also essential to protect your table from all weather conditions. Consider using finishes designed for outdoor use, providing durability and resistance to moisture and UV rays.
By customizing your Dutch Oven Table with these features, you can enhance its functionality and make it more convenient to use in various outdoor settings. Whether camping, hosting a backyard gathering, or enjoying a picnic, your custom table will provide a sturdy surface for cooking and serving meals.
Safety Considerations For Outdoor Cooking
- Choose a stable and level ground to ensure that the table won’t tip over while in use.
- Avoid placing the table too close to flammable materials such as tents, trees, or bushes. This reduces the risk of accidental fires.
- Position the table away from high foot traffic areas to prevent people from accidentally tripping over it.
- Ensure the table is placed on a heat-resistant surface, such as concrete or gravel, to prevent damage to the ground below and mitigate the fire risk.
- Avoid lifting the hot Dutch oven by its handle, as it can boil. Use protective gloves or oven mitts to handle it safely.
- Regularly clean and season your Dutch oven to prevent rust or food buildup. This ensures longevity and efficient cooking.
- Check the stability of the table before each use. Look for any damages, loose connections, or weak spots that could compromise its strength.
- Inspect the handle, legs, and hinges of the table to ensure they are in good condition and securely attached.
- Tighten any loose screws or bolts to prevent the table from collapsing.
- Regularly clean and remove any debris from the table. This prevents buildup that could affect its stability and durability.
Maintenance And Care For Your Diy Table
- Regularly wipe down the table with a damp cloth to remove dirt and grime.
- Use mild soap or dishwashing liquid to clean stubborn stains, followed by a thorough rinse.
- Avoid using abrasive cleaners or steel wool, which can scratch the surface.
- Apply a coat of wood preservative or protective oil to maintain the table’s appearance and prevent moisture damage.
- Store the table in a dry and well-ventilated area to prevent mold and mildew growth.
- Cover the table with a weather-resistant cover or tarp to protect it from dust, UV rays, and harsh weather conditions.
- Elevate the table off the ground using wooden blocks or pallets to prevent moisture absorption from the floor.
- Inspect the table for any signs of wear, such as loose screws or damaged parts.
- Tighten any loose screws and replace any broken or damaged components.
- Check the table’s stability and make any necessary adjustments to remain sturdy.
Unleashing Culinary Creativity With Your New Table
Unleash your culinary creativity with a personalized DIY Dutch oven table. Experiment with Dutch oven recipes that will wow your guests at your next outdoor cookout. This versatile table provides a dedicated workspace to prepare and cook your favorite dishes, allowing you to expand your menu and explore new flavors.
With your Dutch oven table, you can embrace the joy of cooking while enjoying the great outdoors. The table offers ample space to organize your ingredients, tools, and utensils, making cooking more efficient and enjoyable.
Customize your table to suit your needs and style, whether you prefer a rustic or modern design. With the Dutch oven table as your reliable companion, you can elevate your outdoor cooking game and create unforgettable culinary experiences.
Frequently Asked Questions On Diy Dutch Oven Table
How Do You Make A Diy Dutch Oven Table?
To make a DIY Dutch oven table, you’ll need a wooden table with a hole in the center, a Dutch oven, and some bricks or stones. Place the Dutch oven in the hole and use the bricks or stones to create a stable, heat-resistant base.
The Dutch oven will allow you to cook food over an open fire.
What Are The Benefits Of Using A Dutch Oven Table?
Using a Dutch oven table offers several benefits. Firstly, it provides a stable surface for your Dutch oven, allowing for more efficient cooking. Secondly, it protects the ground from direct heat, reducing the fire risk. Lastly, it elevates the Dutch oven to a comfortable height, making cooking and serving your food more accessible.
Can I Use A Diy Dutch Oven Table For Other Outdoor Cooking Methods?
Absolutely! While a Dutch oven table is designed explicitly for Dutch oven cooking, it can also be used for other outdoor cooking methods. You can place a grill on the table to cook steaks and burgers or use it as a workspace for chopping vegetables and preparing meals.
What Materials Do I Need To Build A Diy Dutch Oven Table?
To build a DIY Dutch oven table, you’ll need some basic materials, including a wooden table, a saw, a drill, sandpaper, and wood stain or paint. Additionally, you’ll need a Dutch oven and some bricks or stones to create a stable base for the stove.
Conclusion
Create a well-rounded conclusion for the blog post “DIY Dutch Oven Table,” adhering to the guidelines: Building your own Dutch Oven table is rewarding and practical. Following these steps, you can have a sturdy and functional table to enhance your outdoor cooking experience.
Whether in a backyard or on a camping trip, this DIY project will provide a convenient solution for cooking with Dutch ovens. Embrace your DIY skills and start your own Dutch Oven table today!


Leave a Reply